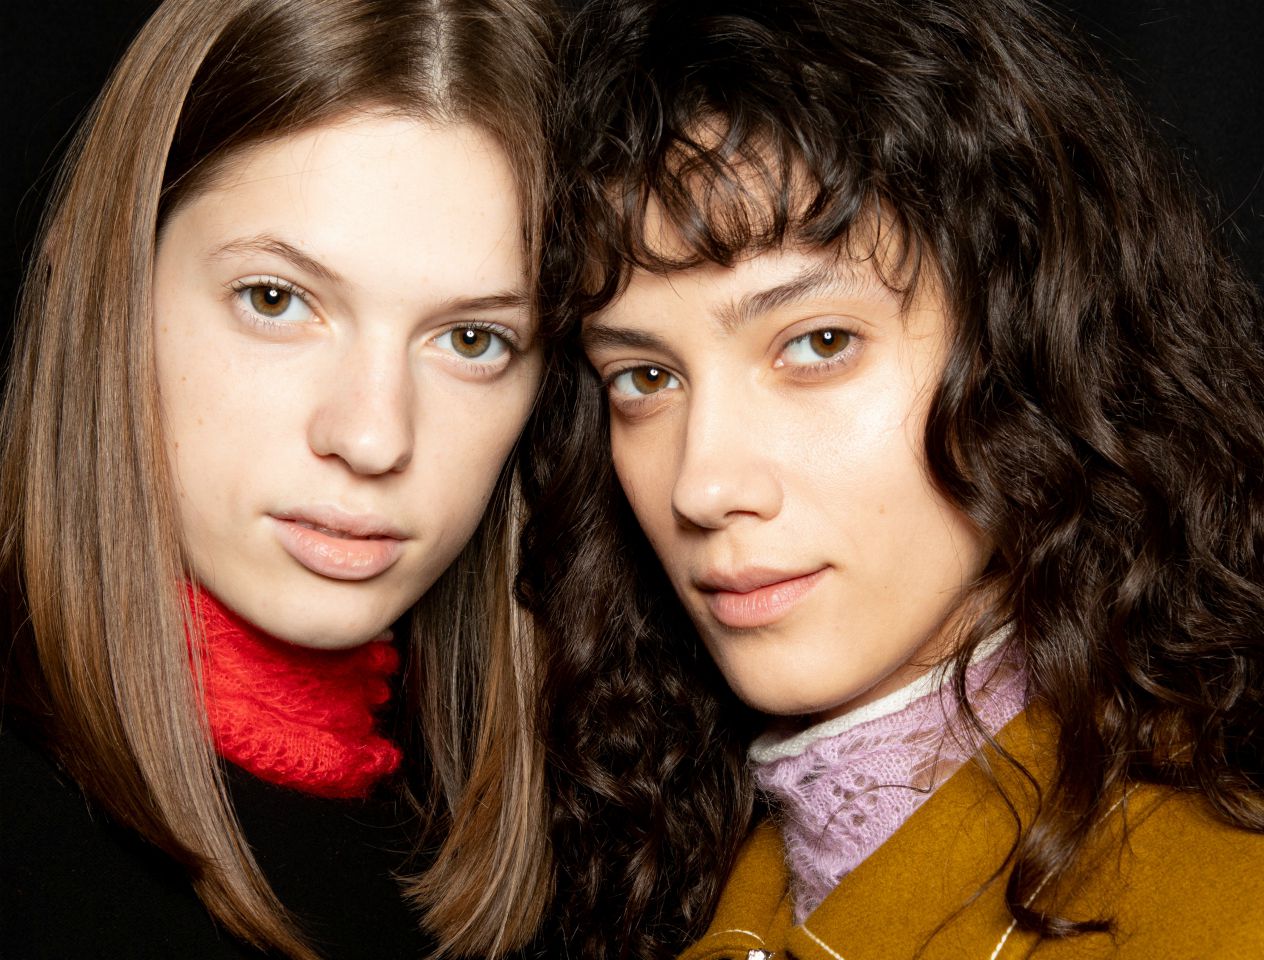
The salon treatments you can do at home

When you can’t get out to your blow-dry, mani or facial appointment, bring the salon home to you
There’s nothing quite like that ‘just stepped out of the salon’ feeling. But just because you can’t physically get to your beautifying appointment doesn’t mean you need to miss out on its mood-enhancing effect. We’ve enlisted the help of top beauty experts to keep you looking and feeling thoroughly pampered from head to toe.
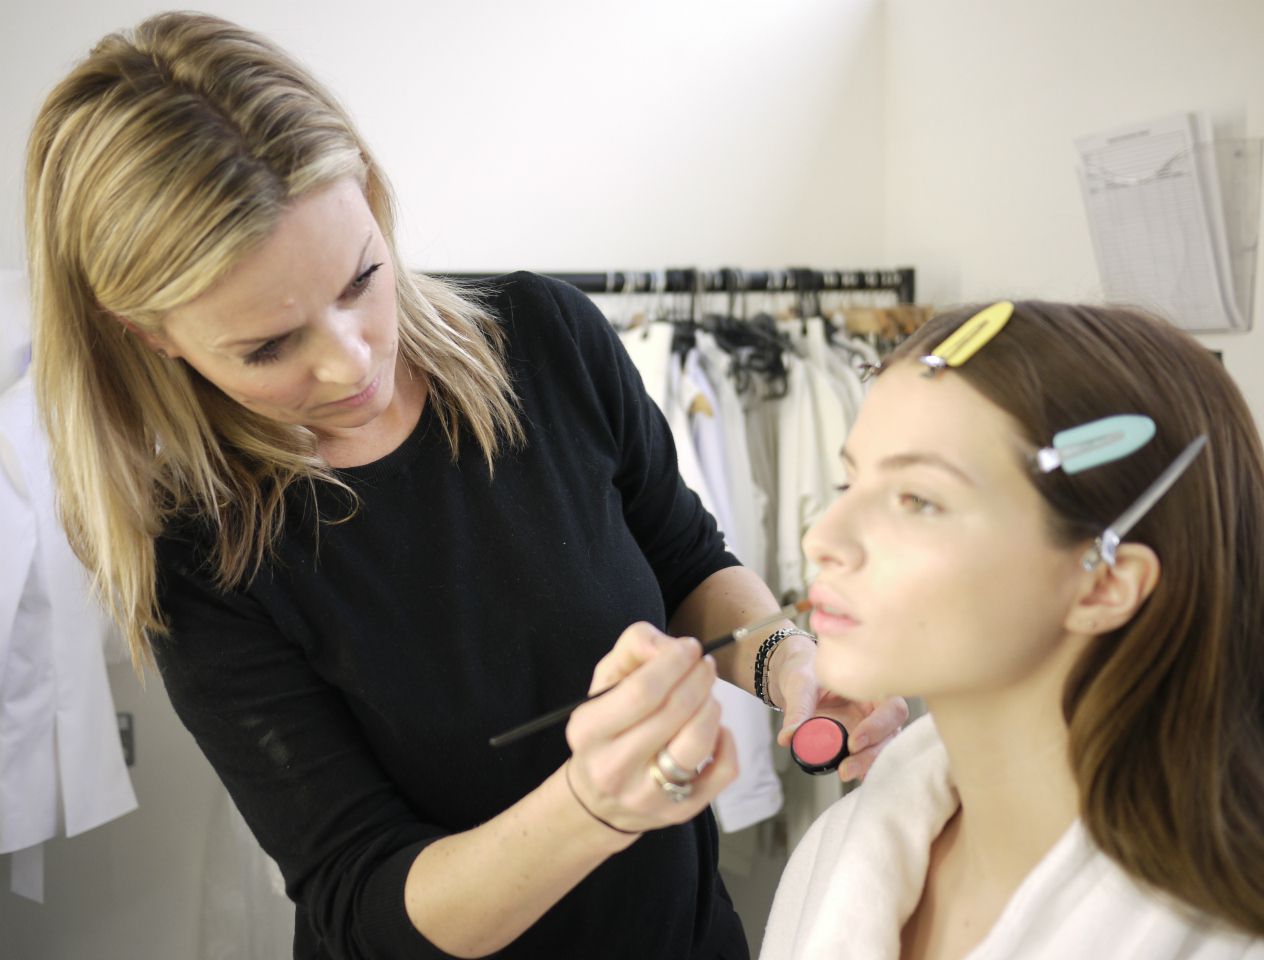
The masterful mani by Trish Lomax
1. Prep
Good hygiene is paramount in preventing the risk of infection so always cleanse your hands to start, and make sure you sanitise all files, buffers and implements before and after use. Soften cuticles with oil before gently pushing them back with a cuticle stick wrapped in cotton wool. Don’t ever soak nails in water as they absorb it very easily, causing them to dry out as it evaporates. Gentle buffing smooths the nail, stimulates growth and cleans up unsightly varnish stains. Use a four-way buffer once a week maximum – more than this will thin your nails and make them sensitive.
Preparation of the natural nail is key to the longevity of any manicure. ‘Squeak’ it by soaking a cotton pad with acetone and wiping it over the nail to remove any oil or product residue which will affect the application of polish and can cause chips and peeling.
2. Shape
The most popular shapes are oval (an elegant shape which elongates fingers and nails giving the illusion of slender hands) or squoval (a classic shape that will suit any short nail). Regular gentle filing of the nails will not only keep them well maintained, but also stimulate growth. When manicuring your own nails it's easiest to start from the outside and work in. Use gentle strokes in one direction avoiding a sawing action and file nails from the edges towards the centre. Once you have the desired shape, angle and sweep the file under the tip of the nail to remove sharp corners. Alternatively, use a large nail clipper and cut straight across before using a nail file to gently soften the corners, creating the squoval shape.
3. Technique
Start by applying a good base coat to prevent staining and aid the adhesion of the nail polish. Once you have chosen your desired colour, wipe any excess from the brush to avoid flooding the cuticle area and, using one motion, stroke the brush down the centre of the nail from base to tip. You should be able to cover the entire nail in three strokes. Allow a few moments drying time before applying the second coat. Always apply two coats of polish to achieve the perfect, long-lasting colour. Applying too many or too thick a coat will lead to chipping. Don't forget to coat the edge of the nail with polish as this helps to prevent chips and will stop water from getting into the nails which can cause peeling. To correct any errors use a small brush (an old eyeliner or lip liner brush is ideal) dipped in acetone to gently sweep away any imperfections.
Now you have perfectly painted nails always finish your manicure with a layer of top coat to protect the colour and leave a professional-looking glossy finish. Tip: Full polish application (base coat, two layers of colour and a top coat) takes four to six hours to fully harden. The thinner each layer, the faster it will dry.


The pro blow-dry by top hairstylist Paul Edmonds
1. Product
Prepping with the right shampoo and conditioner for your hair type will ensure a great finish (for example if you have thin or fine hair use a volumising shampoo and conditioner).
Modern blow-dries are about movement and effortless style so use a polymer-based blow-dry cream that you can apply to damp hair as this will give it shape while still allowing movement.
To finish, use a lightweight hair oil that won’t leave a film of build-up and if you need a little more hold, spritz some hairspray into the roots keeping the nozzle as far away from your head as possible.
2. Tools
Big, mega blowouts are history so tools such as round brushes should be medium-sized. Straightening irons and barrel tongs are good for finishing but use wider or larger diameter ones for a softer, contemporary feel.
3. Technique
Once you’ve applied your holding products you need to rough dry your hair until it’s about 70% dry. Then, starting from the back, wrap sections of hair around a round brush directing the hairdryer from root to tip whilst lifting up and away from the roots as you do so. Once dry, roll up (don’t twist) and pop a sectioning clip in, repeating in even sections all over. For the front of the hair - which is often the hardest part to get right - fashion the rolls in the opposite direction. Blast hair with cold air to set before running your fingers through to break it up. Put your head upside down, give your hair a quick brush and you're done.


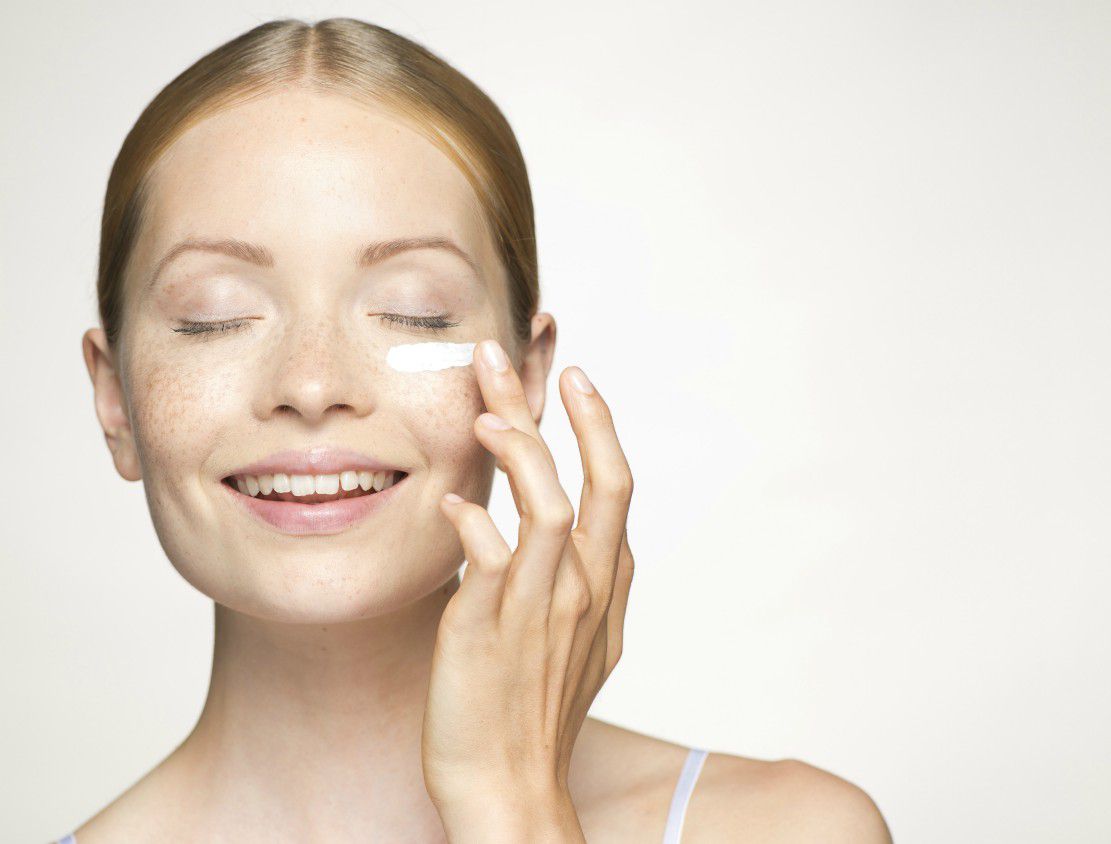
The at-home spa by skin expert and aesthetician Fiona Brackenbury
1. Facials
When you have a facial it’s the massage that’s the biggest contributor to skin transformation, eliminating muscle tension, aiding lymphatic drainage and bringing nutrients and blood flow to the surface for a radiant glow.
You don’t have to be a facialist to incorporate a few simple techniques into your daily routine either when cleansing or applying a facial oil or night cream at bedtime. With clean hands, use your fingertips to draw small circles upwards and outwards along your jawline, repeating three times before inching up your face towards the hairline. Now that the skin is warmed up, hold your chin between the knuckles of your index and middle fingers and sweep along the jawline towards the ears, repeating several times to contour the jaw.
Next, placing your thumbs under your cheekbones, cup your hands over your nose so that the fingertips are touching before using your index fingers to smooth outwards over your forehead towards the temples, repeating three times.
Place your fingertips just under your eyebrows lifting and pushing up and out towards the temples. Finish by using the back of the hands to stroke from the base of the neck upwards, lifting towards the jawline.
2. Scrub up
While the bath is running, exfoliate your body to banish dead skin cells paying particular attention to elbows, knees and heels. It's great for re-energising and getting the blood flowing. If you don’t have a scrub to hand, sugar and olive oil mixed together is a great substitute to tide you over.
Creating the right atmosphere even if only for 20 minutes will aid relaxation and recharge you, so light a few candles and leave a towel on the radiator so that you can snuggle into it when you're done just as you would at the spa.
3. Leg massage
This is essential if the tops of your legs are feeling sluggish or they're not looking smooth. After bathing when the skin is nice and warm, sit on the side of the bath or bed and massage body cream or body oil into your upper legs. Always work towards the heart and never cross your legs as this will reduce the effectiveness of the massage.
Start with a kneading movement to stimulate micro-circulation and bring nutrients to the skin. Next, place one hand on top of the other and draw circles with the palm of your hands moving up the leg. Then, with your hands still on top of each other, smooth upwards from the knees to the tops of the legs, stretching and lifting to re-educate the muscles and skin.

Image: Getty Images